Setting Up Panopticon Real Time on Windows
NOTE: You should use the Windows zip distribution of Apache Tomcat for Windows rather than the Windows Service Installer.
Follow the steps and guidelines below to install Panopticon Real Time on Windows.
- Extract the contents of AltairPanopticonVisualizationServerWAR_<version number>.zip file to a new location.
This zip file will contain the following folder and files:
- pcli-java folder
- tomcat-users_example.xml
- start_Python_connectivity.sh
- start_Python_connectivity.bat
- pyro.py
- panopticon.xml
- panopticon.war
- PanopticonJNDIRealm.jar
- OpenJDK11Dependencies_README.txt
- OpenJDK11Dependencies.zip
- Examples.exz
- CustomMessageParserExample.zip
- Elastic_5X_Dependencies.zip
- Elastic_6X_Dependencies.zip
- Elastic_7X_Dependencies.zip
- Panopticon Web Authoring Quick Start Guide
- Panopticon Web Authoring Guide
- Panopticon Panopticon Real Time Installation and Reference Guide
- User_License.rtf
NOTE: To support Python Transform, the following files are included in the installation zip file:
- start_Python_connectivity.sh
- start_Python_connectivity.bat
- pyro.py
See Python Integration for more information.
- Make sure that your Tomcat server is stopped.
- Create the AppDataa folder (i.e., vizserverdata) and ensure that the user account Local Service running Tomcat has read/write and execute permissions to this folder.
Example: c:\vizserverdata
- Copy the extracted panopticon.xml file into the Tomcat config folder. This file contains the following information:

NOTE:
- Instead of setting the path of the environment variable PanopticonAppData on the panopticon.xml file, you can do so on the System Environment Variables. For example:
Variable New Value PanopticonAppData c:\panopticondata - If the directory path is set in both an environment variable and in the panopticon.xml file, the value set in the XML file will take precedence.
- Instead of setting the path of the environment variable PanopticonAppData on the panopticon.xml file, you can do so on the System Environment Variables. For example:
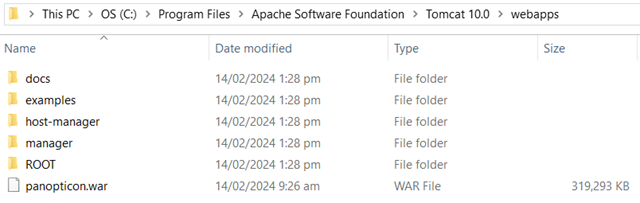
- Copy the panopticon.war file into the Tomcat webapps folder (\Apache Software Foundation\Tomcat 10.0\webapps).
- For a basic install using the Tomcat inbuilt XML file user directory, copy the provided tomcat-users_example.xml and overwrite the existing tomcat-users.xml file which is available in the Tomcat config folder (\Apache Software Foundation\Tomcat 10.0\conf).
The provided tomcat-users_example.xml contains the following roles and users:

NOTE: In Panopticon 2020.0 and onwards, the Administrators.txt and AdministratorGroup.txt files are no longer used to authorize administrator users. The function provided by these files has been replaced by a set of properties in Panopticon.properties:
access.default.roles=VIEWER
access.administrator.groups=admin
access.designer.groups=designer
access.viewer.groups=
The access.default.roles property defines the default roles assigned to any user accessing the server, defaulting to VIEWER. The administration (access.administrator.groups property) and content creation (access.designer.groups property) on the server are mapped by default to groups named "admin" and "designer".
For more complex authentication and user directory options, see section [3] Authentication. - You can also opt to install Java data connector’s dependencies, and JDBC driver JAR files as required.
IMPORTANT:
- Before proceeding to step 7, ensure the Tomcat temp folder (e.g., \Apache Software Foundation\Tomcat 10.0\temp) is available.
- You can opt to choose a different temp folder with the CATALINA_TMPDIR environment variable. For example:
Variable Value CATALINA_TMPDIR /tomcat_home/dev/temp
- Start Tomcat to deploy the panopticon.war file.
The panopticon folder is extracted in the Tomcat webapps folder:
The server initializes the AppData directory with an empty content repository and empty subdirectories for other types of data. The Panopticon.properties file is created with the default server properties.
- Specify the license type that will be used. Use any of the following license types:
- Volume License file (PanopticonLicense.xml) that must be copied to the designated AppData folder.
- Altair Units license. Refer to Using Altair Units License in Altair's License Server for more information.
- Managed Altair Units license. Refer to Using Managed Altair Units License via Altair One for more information.
- Increase the Java heap size of Tomcat.
- You should now be able to log on to Panopticon Real Time using the following:
[Host Name]:[Port]/[Name of your application]
For example:
http://localhost:8080/panopticonNOTE: To support Python Transform, the following files are included in the installation zip file:
- start_Python_connectivity.sh
- start_Python_connectivity.bat
- pyro.py
Refer to Python Integration with Pyro4 for more information.
(c) 2013-2024 Altair Engineering Inc. All Rights Reserved.