HyperView supports stereoscopic 3D viewing to visualize
simulation data in 3D.
Some of the benefits of 3D visualization include:
High end graphic visualization and animation in a 3D environment using the Perspective
view and depth perception.
A design review tool allowing detailed analysis of the physical event being simulated.
Modeling of spatial reality aids in enhanced interpretation of results within the
familiar 3D environment.
Realistic rendering and representation using Graphics materials in 3D mode.
Combining video overlay functionality with 3D visualization helps in re-creating
virtual test labs.
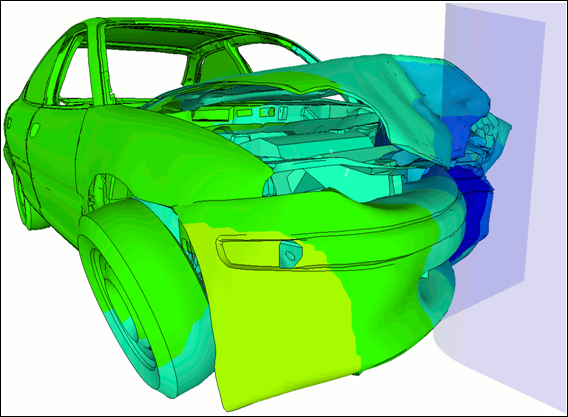
Figure 1. Model Visualized in HyperView using the 3D Stereoscopic
View
Stereoscopic 3D is only officially tested and supported on HyperView supported Windows platforms. Please verify and confirm that a
3D compatible TV/monitor and graphics card is installed and functioning properly before
activating this feature.
Enable the 3D Stereoscopic View
Configure the environment variable. Set the HW_STEREO environment variable to
“1”.
The 3D Stereoscopic feature is enabled.
Note: This feature is disabled if
the environment variable is set to any other value or is not present.
Tip: The ability to enable/disable the feature with an
environment variable is important because it affects the video driver and
hardware when the application is started. To display 3D, the driver starts a
3D mode that often results in a momentary black screen on the monitor or
TV.
Enable the 3D view option in HyperView.
Open the Preferences dialog by selecting File > Preferences.
Under the HyperView section, click
Visualization.
Activate the 3D Stereoscopic check box.
Activating this check box automatically enables the Perspective view
mode and provides you with 3D viewing capabilities in HyperView. The model will be displayed in the 3D
mode during view manipulation until this option is deactivated.
The
Perspective option in the Display Control drop-down menu is disabled
when the 3D Stereoscopic option is activated to show that the 3D
specific Perspective Angle (see below) is being used instead of the
per window perspective.
You can use the options listed below
to customize the depth and angle of the model while in 3D view mode.
These 3D specific options are per session options.
Option
Description
3D Depth
Use the slider bar to adjust the amount that the objects appear to
come out of the screen.
Perspective Angle
Use the slider bar to control the perspective angle while the 3D
option is enabled.
Note: The 3D adjustment slider and perspective options are disabled when the 3D
option is deactivated.
The user interface reflects the current 3D settings in the application. The
Default button restores the default values that are stored in the user
interface. The core is initially set from the preferences file if the registry
does not exist. However, if the registry does exist, the core will be
initialized from the registry.
Tip: Depending on the hardware and
model that you are using, the performance may be affected by the 3D display
(which could potentially be up to half of the 2D frame rate).