Create Joint Hubs
Use the Joint Box tool to define junctions in your skeleton model.
-
From the Skeleton ribbon, click the Joint Box
tool.
図 2. 
-
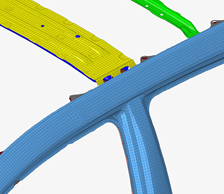
Select the node or elements around which to create a bounding box.
Any elements found within the box are used for joint creation.
図 3. 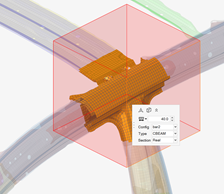
-
Click
 on the ガイドバー to define
options.
on the ガイドバー to define
options.
- Create joint box
- Use the box as a mechanism to select elements to generate the joint location and legs.
- Remove joint legs
- Create a joint without the corresponding legs.
- Mesh member joint
- Automatically create 1D mesh on the joint legs and apply the beam sections.
- Dimensions
-
Controls the length, width, and weight of the bounding box.
- Use orientation and dimensions
- For repeated operations, the previous box attribute information can be used so that the box can be created the same repeatedly.
-
Edit the box size in the following ways:
- Click
 in the マイクロダイアログ to
move the box globally.
in the マイクロダイアログ to
move the box globally. - Click
 in the マイクロダイアログ to
update the box's dimensions. You can click a face and drag its arrow or
entire a precise value.
in the マイクロダイアログ to
update the box's dimensions. You can click a face and drag its arrow or
entire a precise value.
図 4. 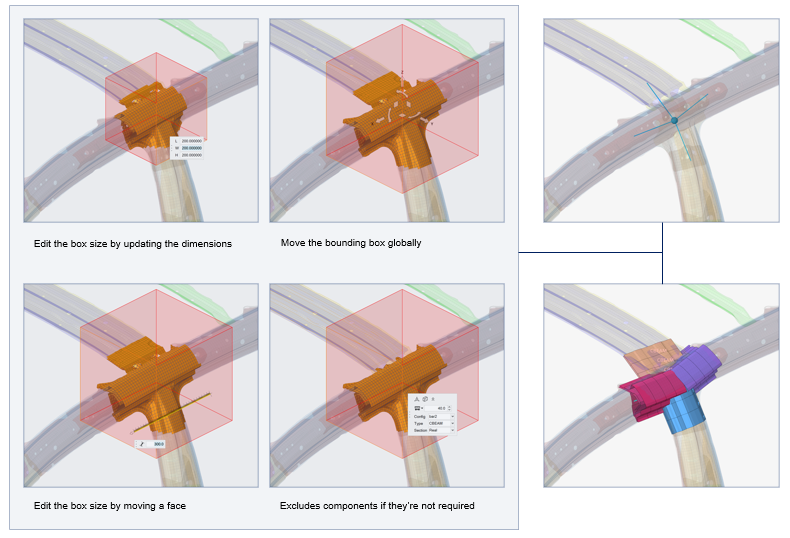
- Click
-
If the member joint is being meshed, set the parameters in the マイクロダイアログ drop-down.
This automatically creates 1D mesh on the joint legs and applies the beamsections.
図 5. 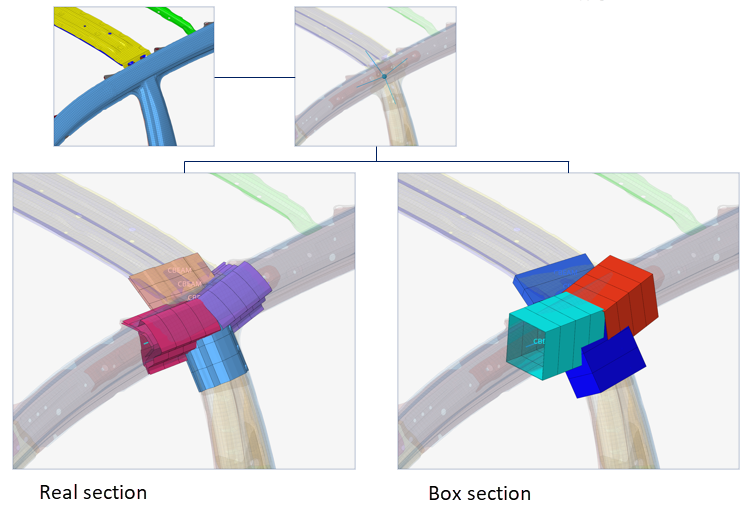
- オプション: Click the Exclude selector on the ガイドバー then pick entities to exclude from the joint if required.
-
ガイドバーで、下記のオプションのいずれか1つをクリックします:
 - 適用し、ツールを開いたままにする
 - 適用し、ツールを閉じる
 – 適用せずにツールを終了する
Assign Beam Sections to Member Joints
Use the Assign tool if a member joint is created without a beam section or the beam section needs to be changed.
-
From the Skeleton ribbon, Joint Box tool group, click the
Assign tool.
図 6. 
- Select the member joint(s).
- Select the beam section to assign.
-
ガイドバーで、下記のオプションのいずれか1つをクリックします:
- - 適用し、ツールを開いたままにする
- - 適用し、ツールを閉じる
- – 適用せずにツールを終了する